Creating a new Project
In Sidos, projects refer to a collection of floor plans and surveys. Usually, projects are created for each building rather than a group of buildings. For example, when working on multiple buildings in a University campus a new project should be created for each of the buildings. Each project needs to contain at least one floor plan to be valid. It will also contain one more surveys.
Creating a new Project
To create a new project, click the new project button.

Name the project and provide an optional address.

Once the project is created, you will be prompted to provide a new floor plan.

The upload process takes a few moments, during which time the provided image is processed. Once this step is complete, it's time to provide a ceiling height and scale the floor plan.
NOTE: Metric or Imperial units can be set as default under your profile.
Setting Scale
To set the scale, you can use the mouse to zoom in order to select a section of the wall or a provided legend. Using the mouse click on the first coordinate and draw your scale selection, clicking on the second coordinate. Now enter the distance and save changes.


You can reset the scale at any time by selecting the Reset scale
TIP: Using longer distances to set scale will produce more accurate results.
Adding additional floors
Sidos supports multi-floor building layouts and makes it possible to easily add floors above or below your existing floor.
Once the scale has been set on your initial floor plan, you can add an additional floor by selecting + Click here to add new floor.
To add a new floor, name the floor and upload a new floor plan by clicking Create.
Now enter the ceiling height and click the align button next to the floor plan you just uploaded.


You can select any existing floor that has already been aligned. In this case, only one other floor plan is available, and since the scale of that floor plan has been set, you can select it and align Floor 2.
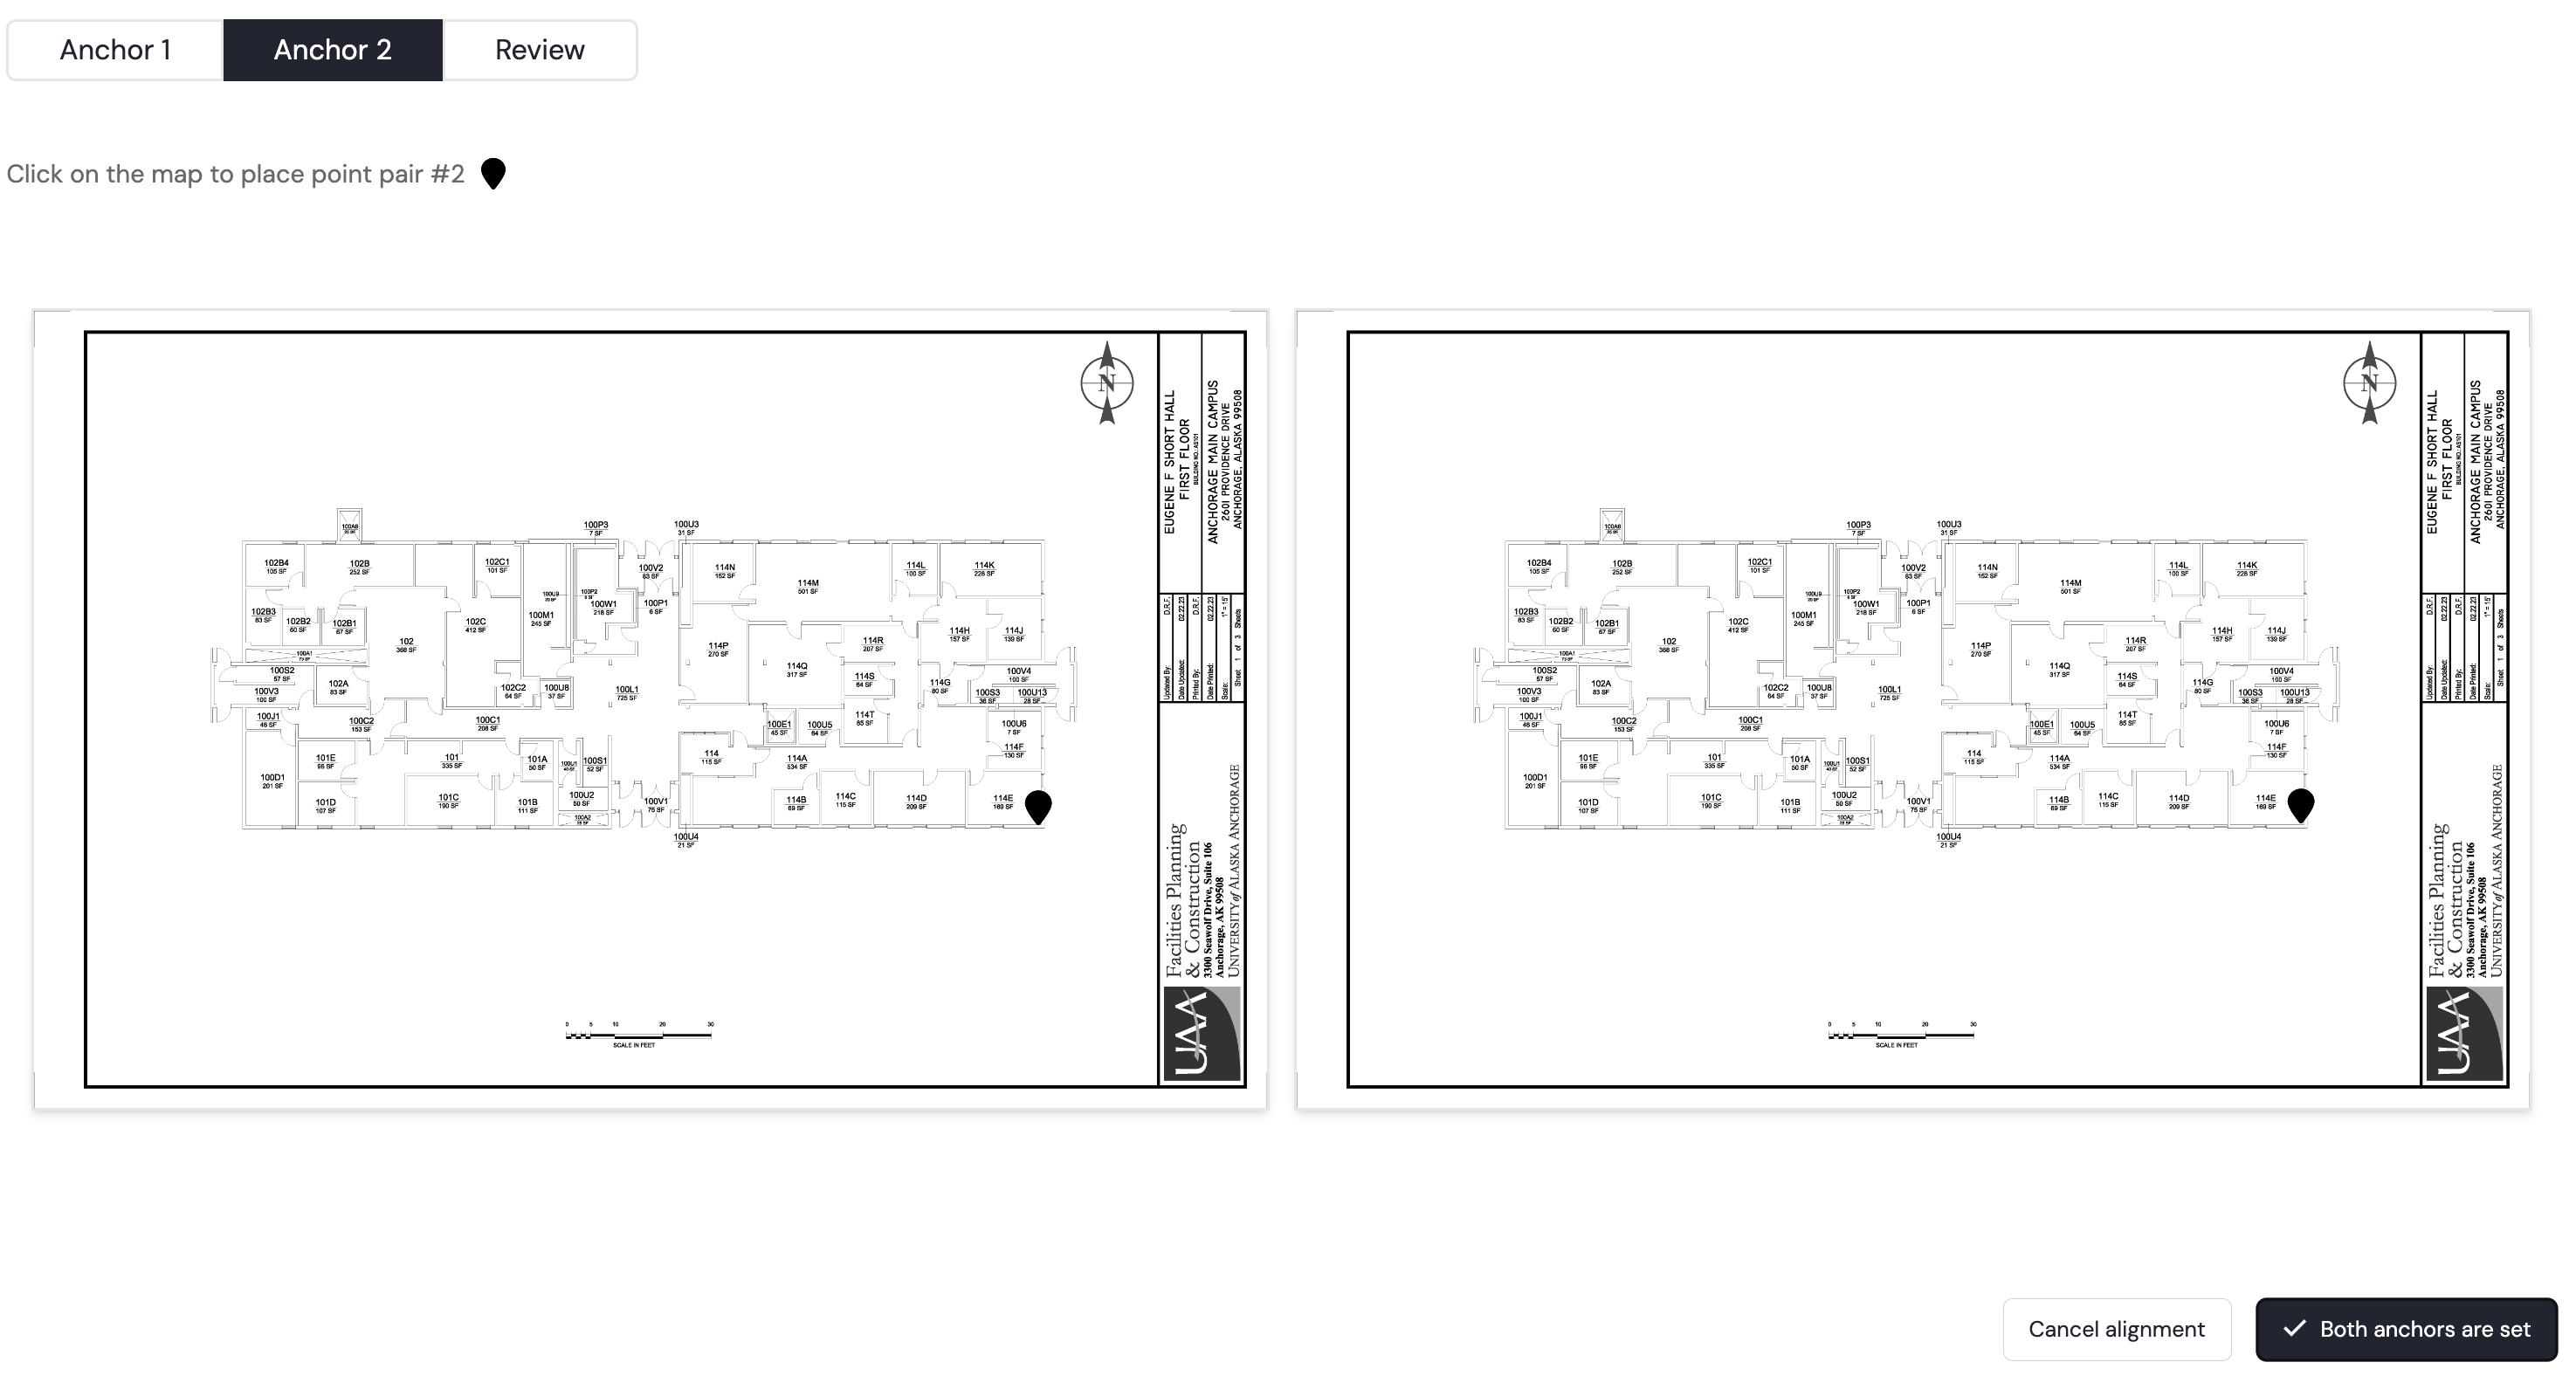
The floor alignment tool allows you to set two sets of Anchors on both floor plans to tell the system how the floors are aligned in the real world.
TIP: When aligning floors, look for common structures like exterior walls, elevator shafts, and other support structures. Make sure that two pairs of anchors are sufficiently spaced on the x and y axis. This will provide the most accurate results.
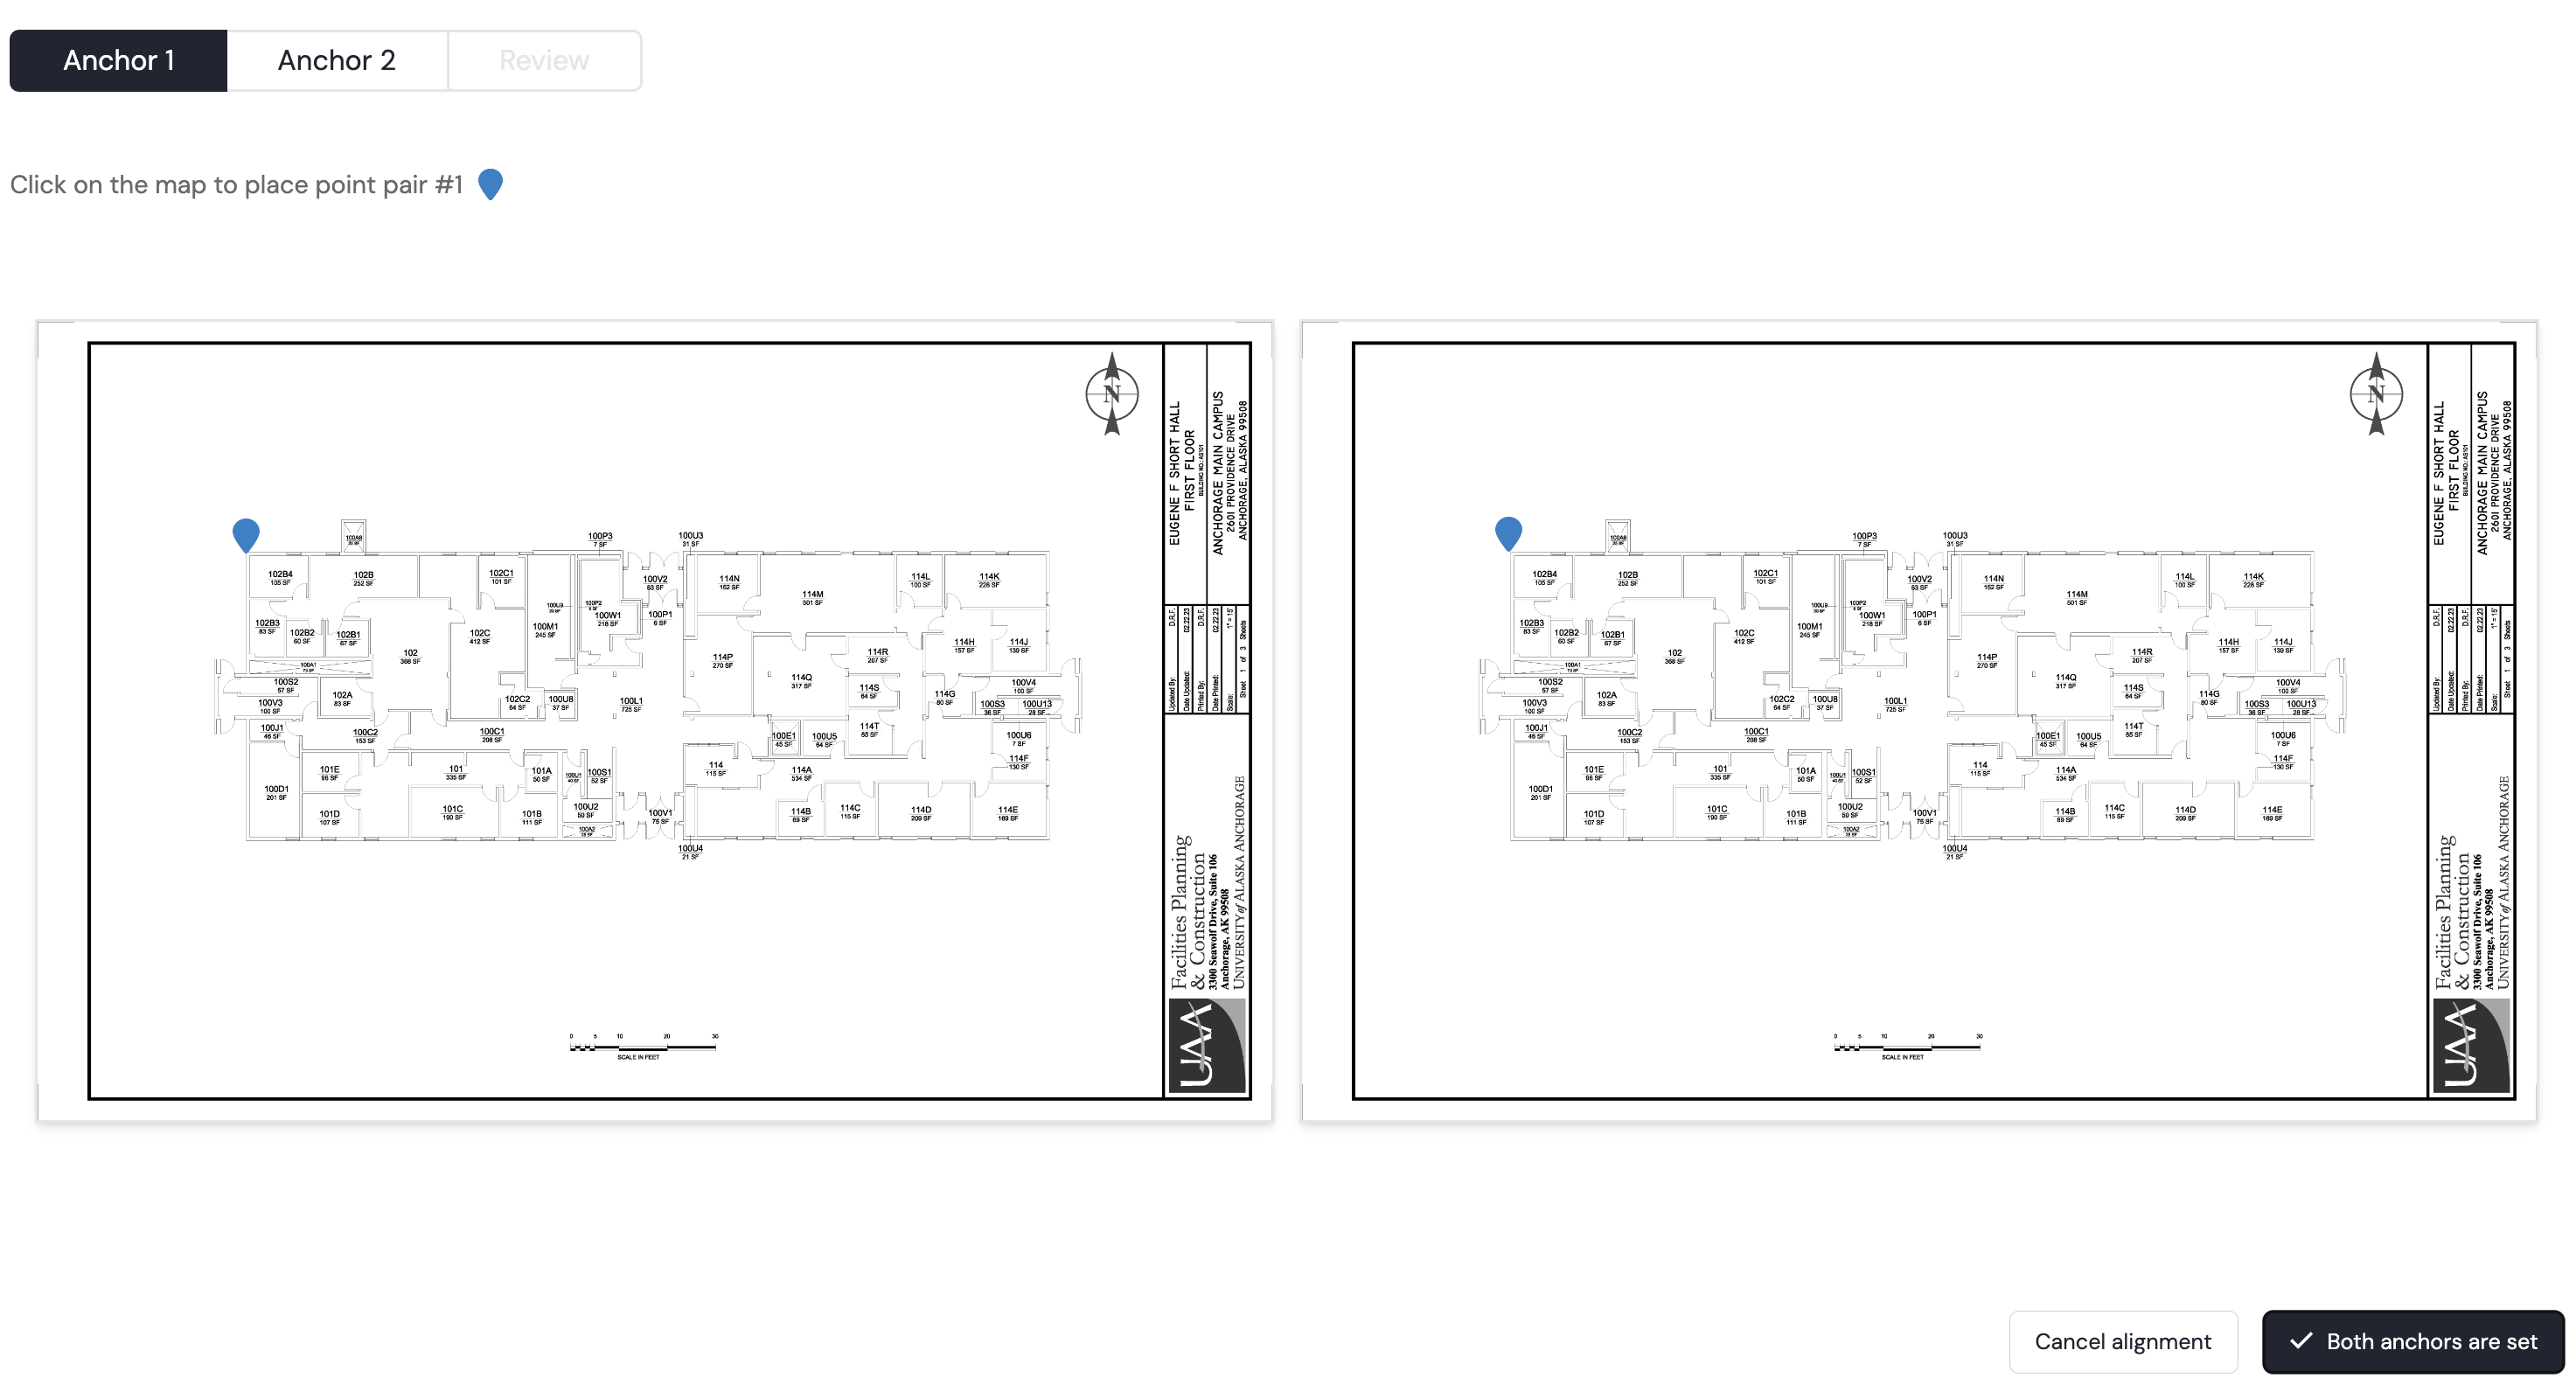
Once the first set of anchors is set, move on to the second set.
Finally, review the alignment of the overlayed images.
Here is an example of the alignment is done correctly:
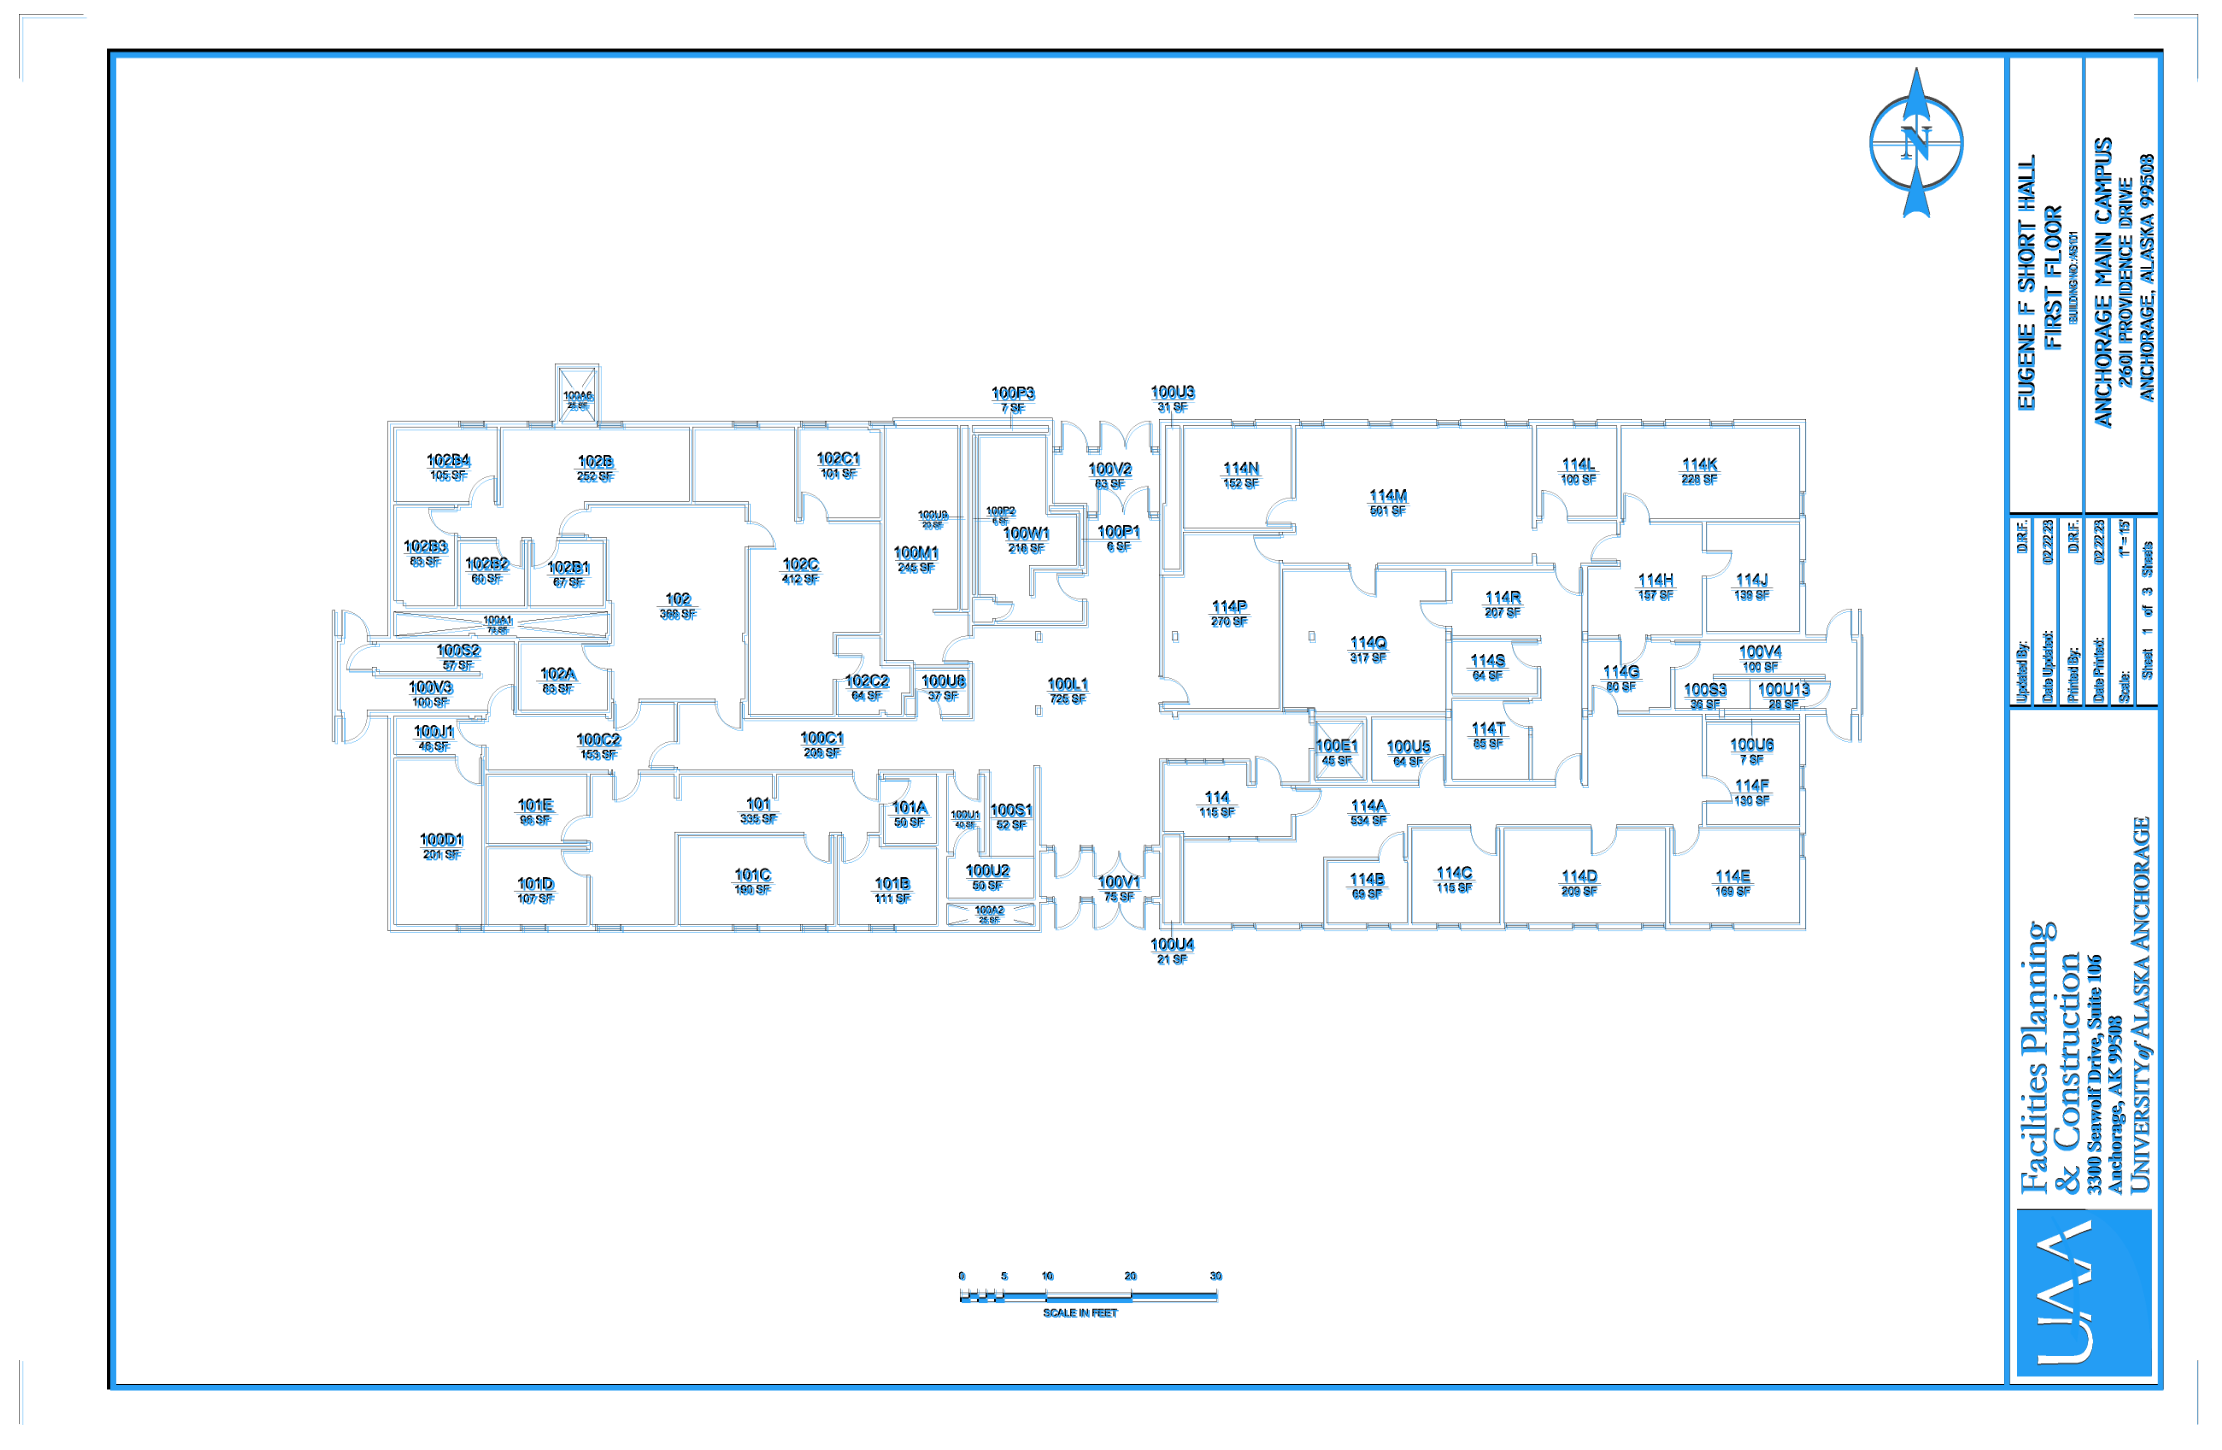
Here is an example of the alignment done incorrectly:
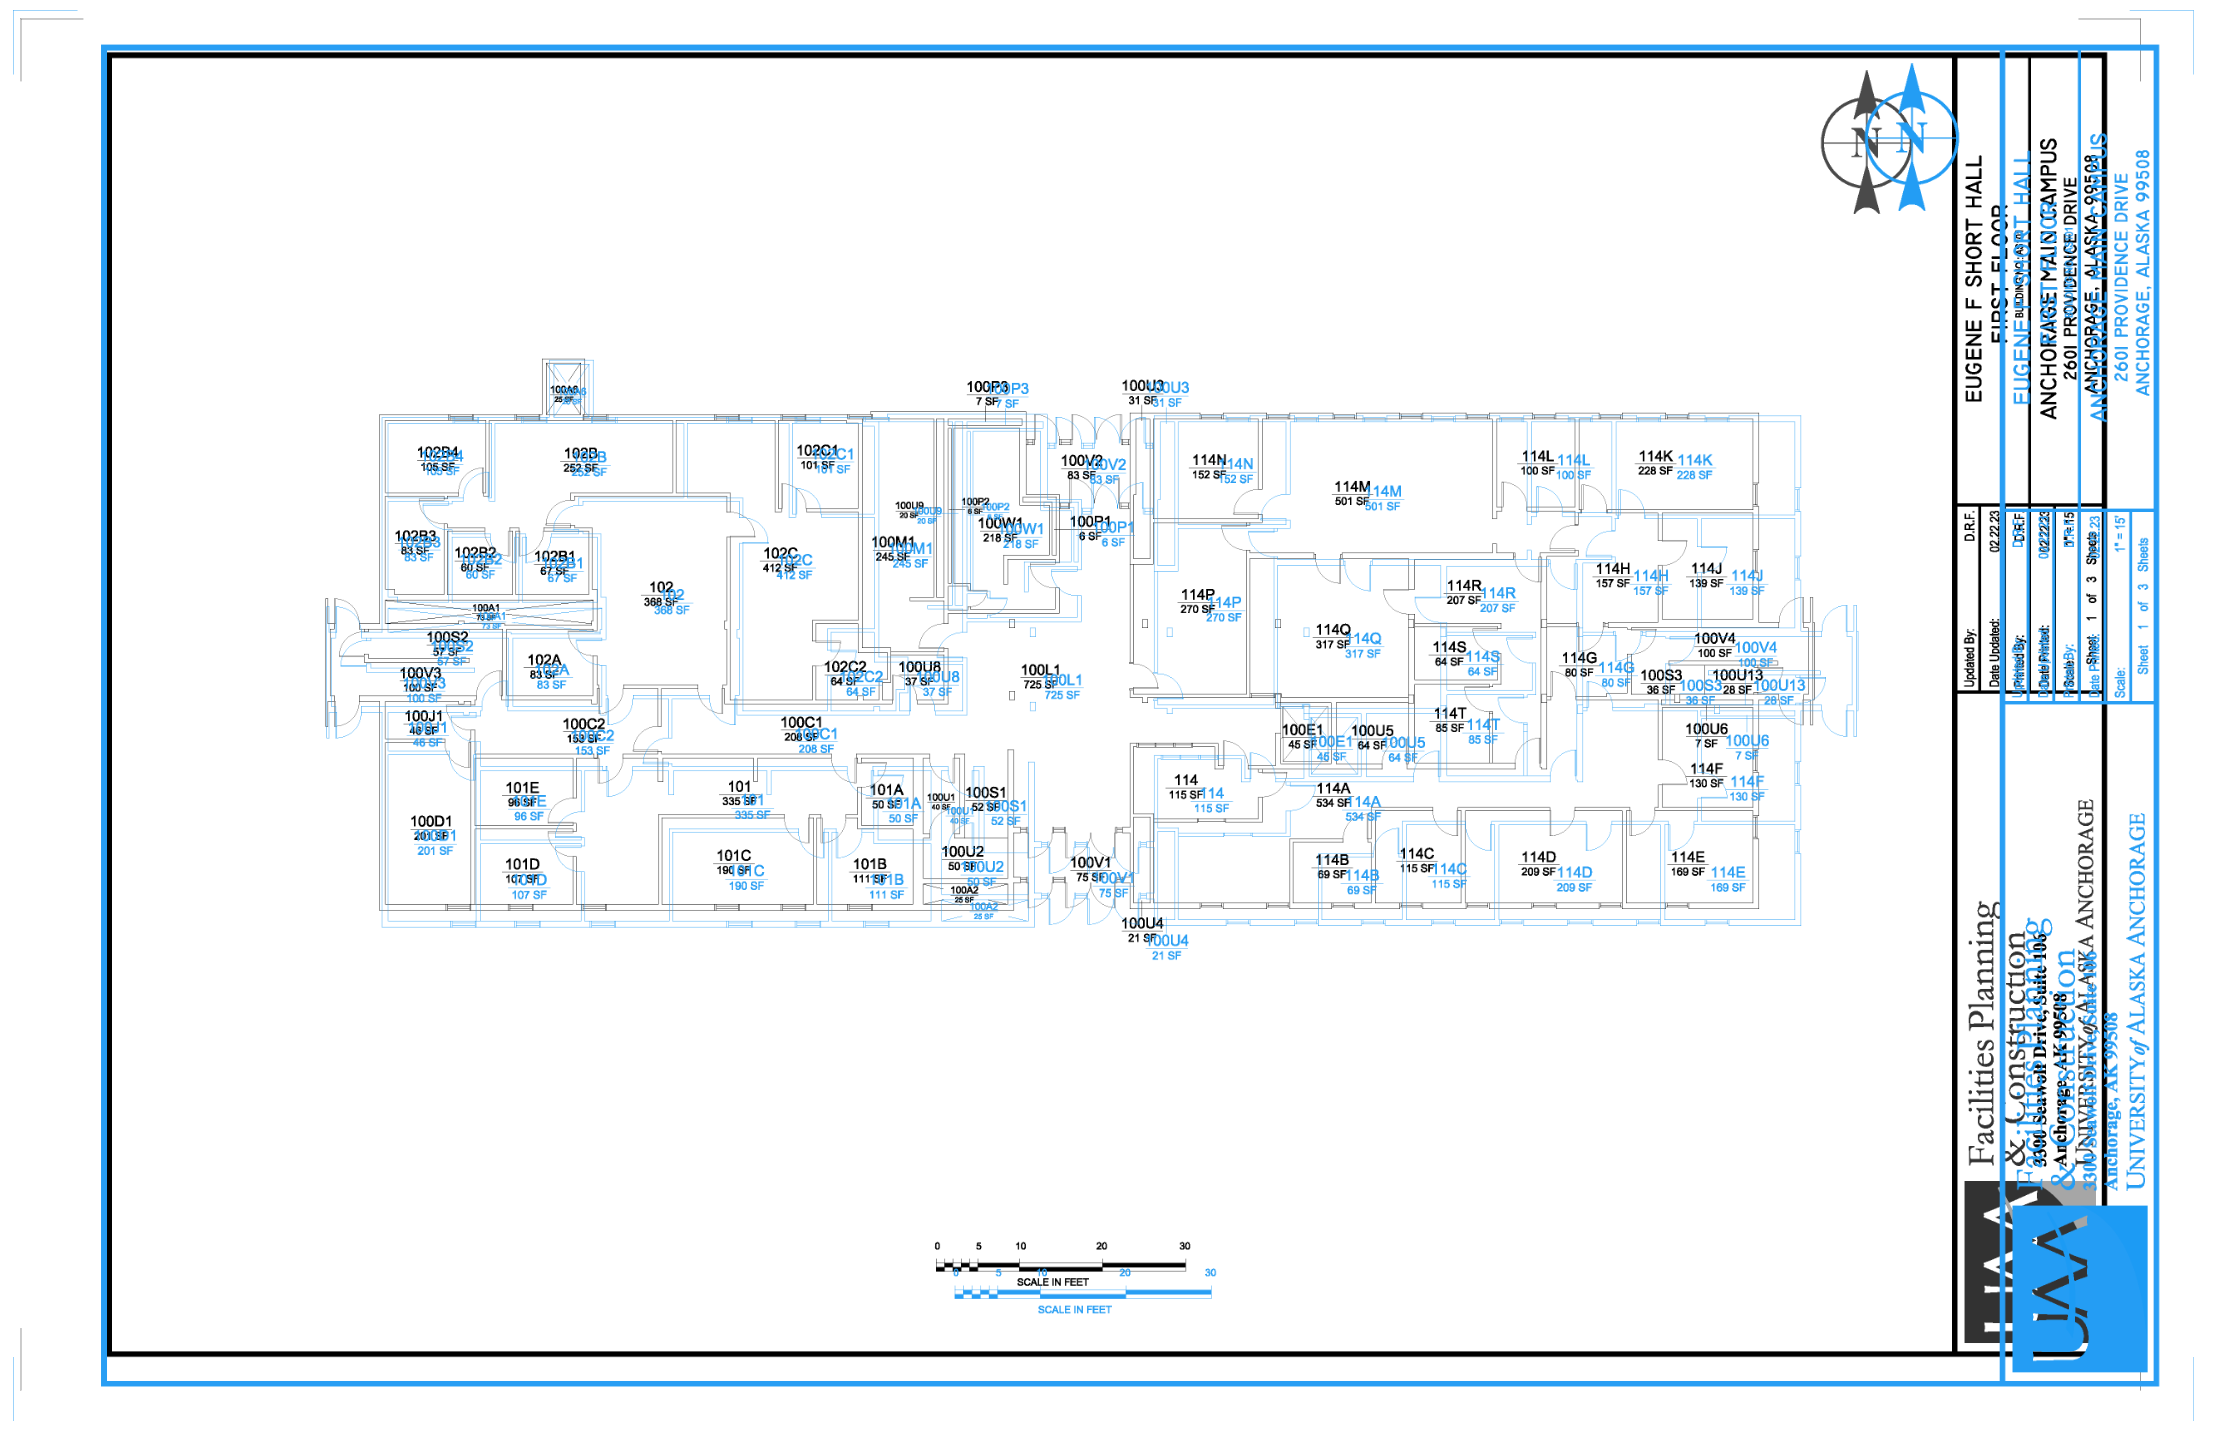
In this example, you can Redo the alignment using the Redo Alignment button or simply use the Anchor tabs to rest the anchors. Once you are satisfied that the alignment looks good, save the alignment and proceed back to the floor plan edit tool.
Once all of your floors are aligned, it's time to check that the floor order mimics your real-world building. Just like a building, the first floor should be at the bottom, and the last floor should be at the top. You can easily move the floor plans around by grabbing the floor plan with your mouse and moving it into place above or below the other floors.
Editing existing project
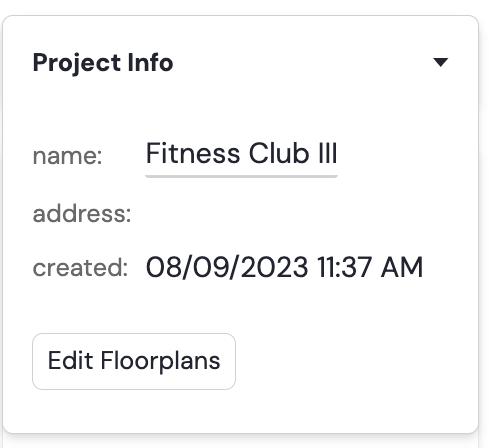
You can edit the project name or add/edit floor plans at any time by using the drop-down next to the project name. The Edit button will return you to the configuration screen where you can make the necessary adjustments.
